Showing posts with label classroom. Show all posts
Showing posts with label classroom. Show all posts
Thursday, May 15, 2014
Web Questing through Iran!
With only 9 school days left, I am beginning to spazz about getting all my material covered. I know I have taught the essential skills my students need to take with them to be successful in the 7th grade BUT I love my content so much I just want to teach it all. I am fortunate enough to cover WWI through present day issues and I enjoy it. I use to believe WWII was my favorite unit to teach but I have really grown to love the Cold War Era. It is all very fascinating to me and the kids love it because of the espionage aspect. Gotta love a good spy story!
We have made our way through Vietnam and have made it into the Nixon, Ford, and Carter years. The goal is to keep my students engaged because at times, history can become a bit monotonous. To actively engage my students, I have created a WebQuest on the Iran Hostage Crisis. I created a website for the students to navigate. I have done WebQuests in the past where I have just given the students various links to sort through. However, I did not find this as effective because since I was not maintaining those websites, I would often not be aware the websites were down or of broken links until a student would raise their hand which then prompts the other 10-15 students to raise his or her hand and tell you the exact same thing, "Mrs. Johnson, it's broken!" So, to eliminate these issues, I decided to use Google Sites and create a website designed specifically for my students and this WebQuest.
If you have never used a WebQuest in the classroom, I strongly urge you to do so. It is a great way to teach students to use resources to look for an answer. A WebQuest is similar to a scavenger hunt. Students have certain pieces of information they are looking for and you give them specific sites in which they can find the information. When I created my WebQuest, I incorporated primary sources: maps, photos, interviews, and video footage. Students are expected to analyze and study the documents to answer text dependent questions. I think added a RAFT activity (role, audience, format, and type) to the assignment as a final project.
My students are currently working on this activity and they seem to enjoy it. I'll post some pictures of completed RAFTs next week!

Tuesday, July 2, 2013
Edmodo

The past two years I have toyed around with using an online classroom element in my regular classroom. I chose Edmodo.com. It offers a lot of usual features. For the past two years, I worked in school where students had very limited internet access at their homes. However, we had an abundance of technology in our school, thanks to Title I funding. It was very easy to implement this in my classroom thanks to the use of iPads, iPod touches, and mobile laptop carts. Of course, this stuff only worked half of the time thanks to the wifi constantly going out...but I digress.
Edmodo.com for those of you who may not have seen it, is set up similar to Facebook layout. The great thing about this website, is it is only for students and teachers and it's FREE! It a closed and secure site. Teachers must give the students' a group code in order to join. Parents may also have access to this website. I had a few parents who utilized it to stay in touch when students were absent for prolonged periods of times. This website offers you the ability to create classrooms online. Students are then able to participate in online discussions, polls, and turn in assignments electronically (goodbye flash drives!).
I am not going to write a step by step tutorial for how to set up your own Edmodo, as their website does a great job. I am just going to discuss how I use Edmodo in my classroom.
I have 5 periods of 6th Grade Social Studies a day. Emodo allows me to create 5 separate groups, that I label 1st through 5th periods. I can then create assignments for the students by uploading a template or files I want the students to use. If I have a different assignment for specific class periods, I can put that assign the work to any of the 5 groups.
Edmodo gives students a space to upload their assignments. I do not have to worry about passing out endless amounts of flash drives and downloading their projects onto my computer anymore. It is essentially a "dropbox" account for every student. After the students turn in their electronic files, I can grade them from the Edmodo platform and students will be able to log in to see their grades. I can also edit their papers, write comments, and provide feedback.
This website is a great area for students to discuss something they have read or to participate in polls. Edmodo allows you to create quizzes with either constructed responses and/or multiple choice options. You will receive a notification (you can customize these) every time a student completes the quiz or turns in an assignment.
If you are looking for an easy technology component for your classroom, please check out Edmodo.com.
Edmodo gives students a space to upload their assignments. I do not have to worry about passing out endless amounts of flash drives and downloading their projects onto my computer anymore. It is essentially a "dropbox" account for every student. After the students turn in their electronic files, I can grade them from the Edmodo platform and students will be able to log in to see their grades. I can also edit their papers, write comments, and provide feedback.
This website is a great area for students to discuss something they have read or to participate in polls. Edmodo allows you to create quizzes with either constructed responses and/or multiple choice options. You will receive a notification (you can customize these) every time a student completes the quiz or turns in an assignment.
If you are looking for an easy technology component for your classroom, please check out Edmodo.com.
Friday, June 28, 2013
You've Got Mail!

I wish I could take credit for this adorable mail box pictured above but, I cannot. However, I did snag it at flea market for only $5!!! This teacher is pretty excited :) I plan to use this in my classroom for students to turn in doctor's excuses, money, and various signed documents. Last year, students would just run up to my desk at the beginning of the day and throw things onto my desk. This will allow me to keep my desk a little more organized. The best part? It is already painted a cute color. I may change it up on one point but for right now, I think I am going to keep it. Perhaps I should repaint it and add chevron? Thoughts?
I apologize for the short blog post but I needed to show off my awesome purchase.
Thursday, June 27, 2013
No Name Papers!!!
Ugh. The bane of any teacher's existence. No name papers. It doesn't matter how many times you reiterate, please put your name on your paper. You'll still inevitably get those few students who do not put their name on their paper. Then, when you address the class "whose paper is this?," they look at you as if you're speaking an archaic language. Now, I am only going into my third year teaching BUT I have learned to be a reflective teacher and try to fix things that are broken. I have decided this year to make a "No Name" area. Another DIY project. This project was cheap, cheap, cheap and quick to do. I hope it will save me time and annoyance this school year.


Materials Needed:


Materials Needed:
- Piece of wood
- Clothespins (I bought mine already decorated in the $1.00 section at Michaels)
- Modge Podge (of course!)
- Small Foam Brush
- Scrapbook Paper
- Cricut (optional, I used it to cut out my letters)
- Hot Glue Gun
- Ruler/Tape Measurer
- Paint
- Medium Foam Brush/Paint Brush
Steps to Create One of Your Own:
(Once again, I apologize for not having pictures as I went through this process but I made this about a month or so ago and did not have the intent of blogging.)
- Paint your piece of wood so it can be drying as you are completing the other parts of this project.
- Cut out your letters or arrange pre-cut letters
- Once paint is dry, use the small foam brush to apply the cut out letters onto your piece of wood. You may want to use a ruler to measure and center your letters.
- Then, measure and arrange your clothes pins. Attach them to the board using a hot glue glun.
(You could decorate regular clothes pins using paint pens, paint, Modge Podge, etc. if you do not buy them already decorated)
Wednesday, June 26, 2013
Letter Trays & Binder Clips!
Two posts in one day? Whoa...she is crazy. No, I just actually need to post these things before I forget...I am pretty bad about that. This evening, I had some extra time to finish my letter trays and decorated binder clips. I thought I would share these with you :) Once again, I cannot take credit for this mastermind creation. It was another idea inspired from Pinterest. What did I do before Pinterest?
Okay, first of all...I must say that school supplies really thrill me. I absolutely love going to the Dollar Tree and Walmart, scoring deals on supplies that I may not need at the time but can always find a purpose to use them. School supplies combined with my label maker my husband got me for Christmas? I'm unstoppable.
I purchased letter trays last year from Walmart. They looked something like this....

Not very cute, right? Exactly what I thought but I decided to just go with them as I had already spent $10.00 on them. Whatever. They may work for others but for my 6th graders and myself, they did not do the job. They constantly fell over and would drop to the floor making loud noises. I decided I would stick it out but I vowed to do something different this upcoming year. I started to scour Pinterest for classroom organization ideas and I found the perfect letter trays for my classroom. What better than a DIY project?
On Pinterest, I discovered someone using 5-6 of the Medium Flat Rate boxes and stacking them on top of each other to create their own letter trays.

However, I did not want them to look like this in my classroom. See the ugly letter trays above to see why. I enjoy color and brightness in my classroom. Once again, I wanted a DIY project that included more than taping or hot gluing 5-6 boxes together.
My Letter Trays:

Materials Needed:
- Medium Flat Rate Boxes (I got them for free from the local post office)
- Scrapbook paper
- Packaging Tape
- Duct Tape
- Modge Podge
- Medium foam brush
- Label Maker (optional)
Steps to creating these beauties:
(I apologize for not having pictures during the process, I promise to get better...I didn't know I was going to blog about them at the time).
- Stack the number of boxes on top of one another. I have 5 boxes because I have 5 class periods.
- Use packing tape to tape the boxes together, tightly. This gives you the basic framework.
- Measure and cut down your scrapbook paper.
- Use a medium foam brush to apply a coat of Modge Podge onto the paper and the box.
- Use your duct tape to cover the sides and back of the box. I extended the duct tape into the boxes. In the picture, you can see the inside of the cardboard boxes but when just putting papers in it, you'll not see it.
- Using the medium foam brush Modge Podge scrapbook paper into the inside of the boxes to give it something extra.
After I created these letter trays, I wanted a way to mark which period the papers need to go into. Now, you may be thinking...can't the kids just count and put the papers in the right slot? The answer would be no. I have learned it is better to label, label, label! I decided to decorate binder clips to show the students their designated tray.

Materials Needed:

- Binder Clips (8 pack, 41MM $1.00 at Dollar Tree)
- Small Foam Brush
- Pencil
- Scrap Paper (any color, I used scrapbook paper)
- Modge Podge
- Scissors
Steps to Creating:
Measure paper to cover the binder clip and cut it.

Use the foam brush to apply a thin layer of Modge Podge onto one side of the binder clip, then press paper onto the binder clip.
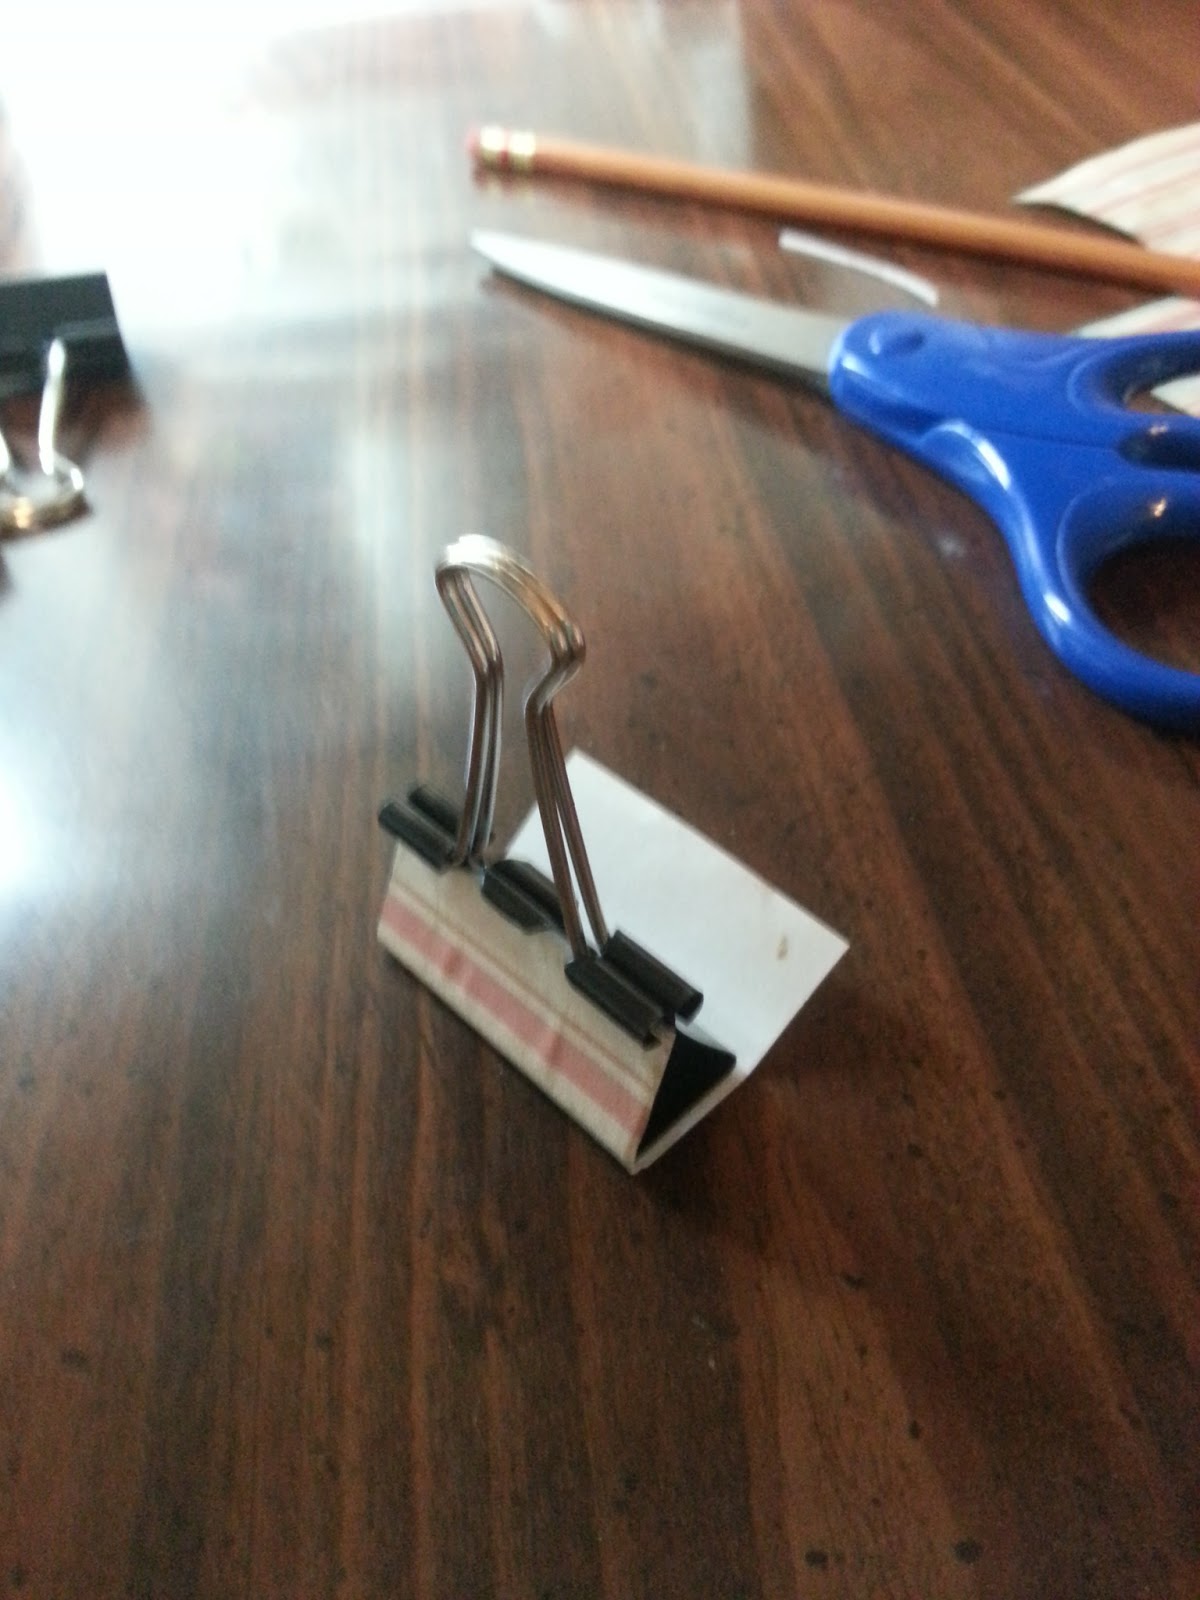

Complete one side at a time to make sure the paper has been applied evenly.
Complete steps for the remaining binder clips. Once again, I did 5 because I have 5 class periods.

The next step is optional. I used my amazing label maker to print out the labels to put onto these binder c lips.

Finished Products:

Subscribe to:
Posts (Atom)